5 TIPS TO HELP YOU MAKE THE MOST OUT OF YOUR HOME TRAINING
By Kin. Coach Gabo
Approximate Reading Time: 5-7min
Situations arise in our lives that prevent us from having access to the places where we usually exercise. The gym might be closed, the weather might not permit your usual walk in the park, you might be on holiday, or perhaps there’s a global pandemic.
Whatever the reason, you have two options; not exercising at all or learning to exercise at home (or wherever you are). Here are 5 tips to help you make the most of your home training which minimize injury and continue to give your body the physical nutrition it needs.
1. CREATE A PLAN
Anytime we change the context of a habit, we have to adapt. For example, if you’re used to sending emails in the morning, you might find it hard to start sending them at night. It’s the same for exercise. Changing your training space can be challenging. Try these to help:
Be clear on your objective. Decide what you want to get from your routine. If you’ve never trained from home before, don’t expect yourself to train as hard as you would in your regular space. Instead, lower your expectations and just aim to start moving regularly!
Decide on a schedule. Now that you know what you’re aiming for, it’s time to decide when you’re going to do it. Have a look at your calendar and figure out what times and days work best for you. The more regularity there is in your routine the more likely you are to stick to it.
Pro tip: If you’re already used to training at a certain time and you still have this time free, do it then - it will make the transition easier.
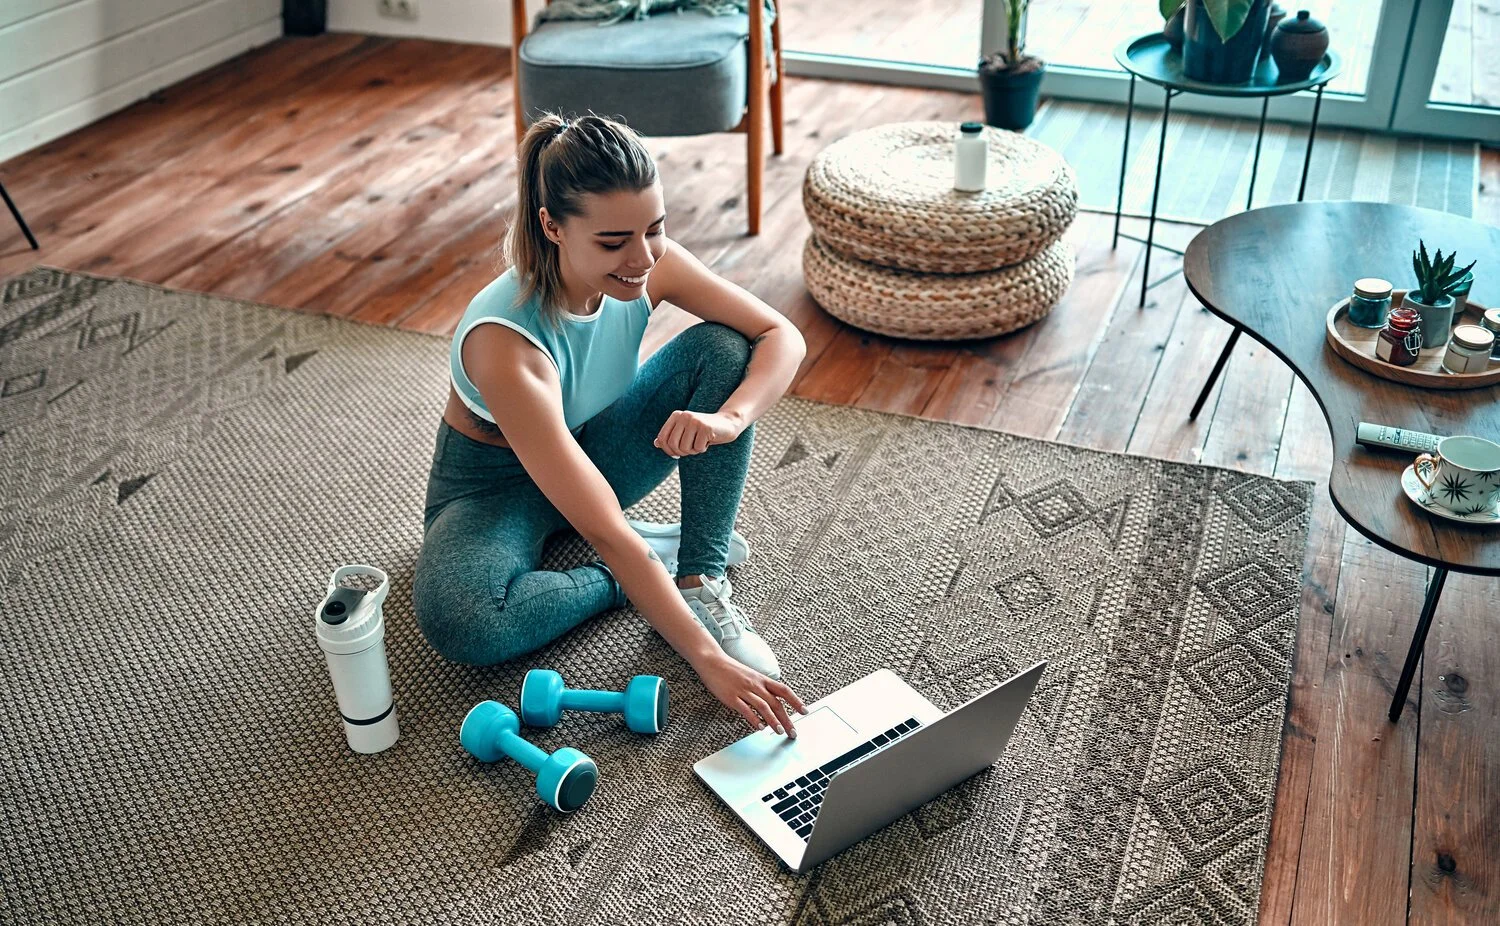
Set the table. The next step is designating a training space and taking stock of what equipment you have available. This doesn’t have to be gym equipment. Books, pillows, broom handles, backpacks, etc, are all example of house items that can be easily repurposed for exercising! (More on this below)
Bring in the FUN! Let’s be honest, training from home can get daunting very quickly. When you’re creating your plan, make sure you’re including some elements that will make it fun for you. Invite your family to train together, play shoulder tag in between sets, see how long each of you can balance on one foot with your eyes closed, etc. This will make training feel like less of a chore and more like an activity you actually look forward to.
2. DETERMINE YOUR STARTING POINT
Whether you’re just starting out or have been training for a while, it is important to check in with the health of your physical body. Although our bodies often work in unison, each part (joint) has its own unique role. The shoulder, for example, has 360 degrees of movement while the elbow only has 140 degrees.
A great way to determine the health of these joints is through circular motions. Luckily for you, we have a follow-along video routine to guide you through this: Joint Circles
When doing them, connect to the movements. Pay attention to what sensations arise. You might find that one side is more mobile than the other. There’s nothing wrong with that! It is all useful information that will help you understand your body better and in turn, will help you pick the most nutritious exercises for YOUR body.
3. SET THE TABLE (EQUIPMENT AVAILABILITY, SPACE AND INTERRUPTIONS)
The biggest barrier to exercising at home is often just having to go through a whole bunch of steps before you actually start moving. The dog might be barking, your kids may want to play with you, the neighbour might be asking for her rake back, etc.
This is why it’s important to “set the table” beforehand. Designate a time and space to exercise. Ensure you let others know that you are booking that time for yourself. Next, set up the equipment you’ll need around your designated space (or leave it set up the day before). The less steps there are for you to start moving, the more likely you are to do so!
4. PICK THE RIGHT EXERCISES
Now that the table is set, it’s time to choose the exercises. This is where most people get discouraged. There are more exercises than there are brands of cereal. However, this task should not scare you. Most movements can be easily categorized as the following:
Push: As the name implies, this involves pushing yourself or an object away from your body. Ex. Push-up, triceps dip, pike press
Pull: This involves pulling yourself or an object towards your body. Ex. Pull-up, chin-up, bent over row
Squat: This involves a bilateral (both sides of the body) lowering and raising of your body. Ex. Air squat, goblet squat, plie (sumo) squat
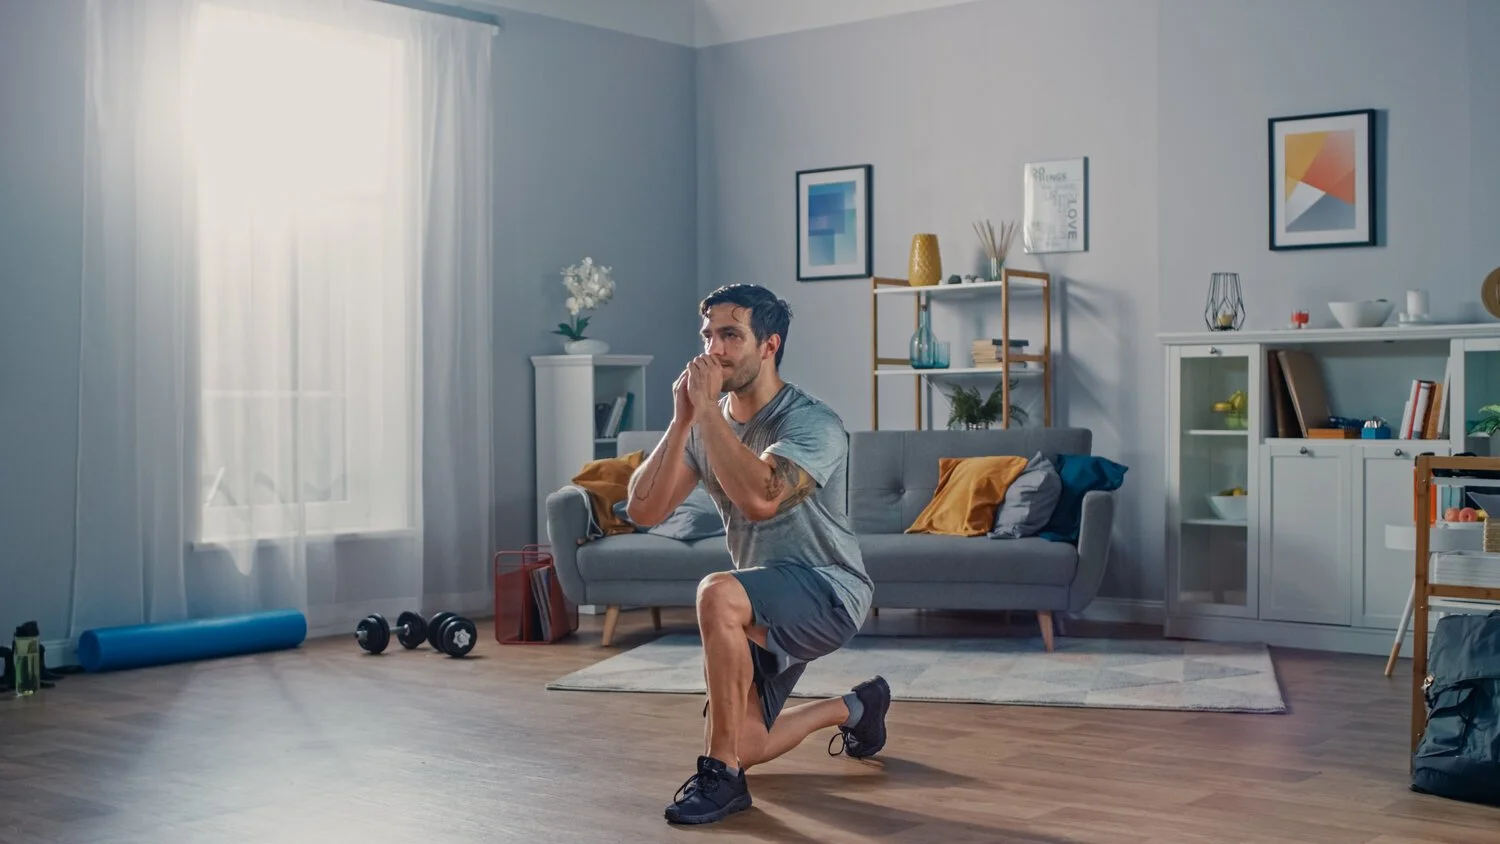
Lunge: This involves a unilateral (one side of the body) lowering and raising of the body. Ex. Backwards lunge, Bulgarian split squat
Hip Hinge: This usually involves a forward bend of the torso where your goal is to create movement at the hip and knee (or just at the hip for more advanced variations) but not at the ankle, as you would during a squat. Ex. Romanian deadlift, kettlebell swing, good mornings
Carry: As the name implies, it is to simply carry something. Grab an object of your desired weight and walk with it. Ex. Farmers carry, rack carry, waiter carry
Twist: An often forgotten but important movement, a twist involves any movement where rotation is involved. Ex. Russian twists, woodchoppers, lateral ball tosses.
Based on your starting point (see above), pick exercises that will serve your body the most. If your shoulder hurts when you raise it overhead, don’t do exercises that involve this motion. It is important to address this limitation but when you’re training on your own, it can be a challenging and risky task to do so alone.
Instead, pick exercises that you feel confident in. Then, pick 1 exercises out of 3-4 categories and do 4 sets of 10 reps for each exercise you picked. You can do them one after the other or complete each set of the exercise before you move on to the next. Spread out your routine so that you cover all of the categories mentioned.
5. BEWARE OF VIDEO TRAINING ROUTINES
If you’ve made it all the way down here, congratulations! Now you are more equipped to tackle at home training. On a final note, I’d like to talk about online video routines. Truth be told, I’m a big fan of video routines. They provide an easy to follow approach that, with the right guidance, can make up for the lack of motivation that comes from training on your own.
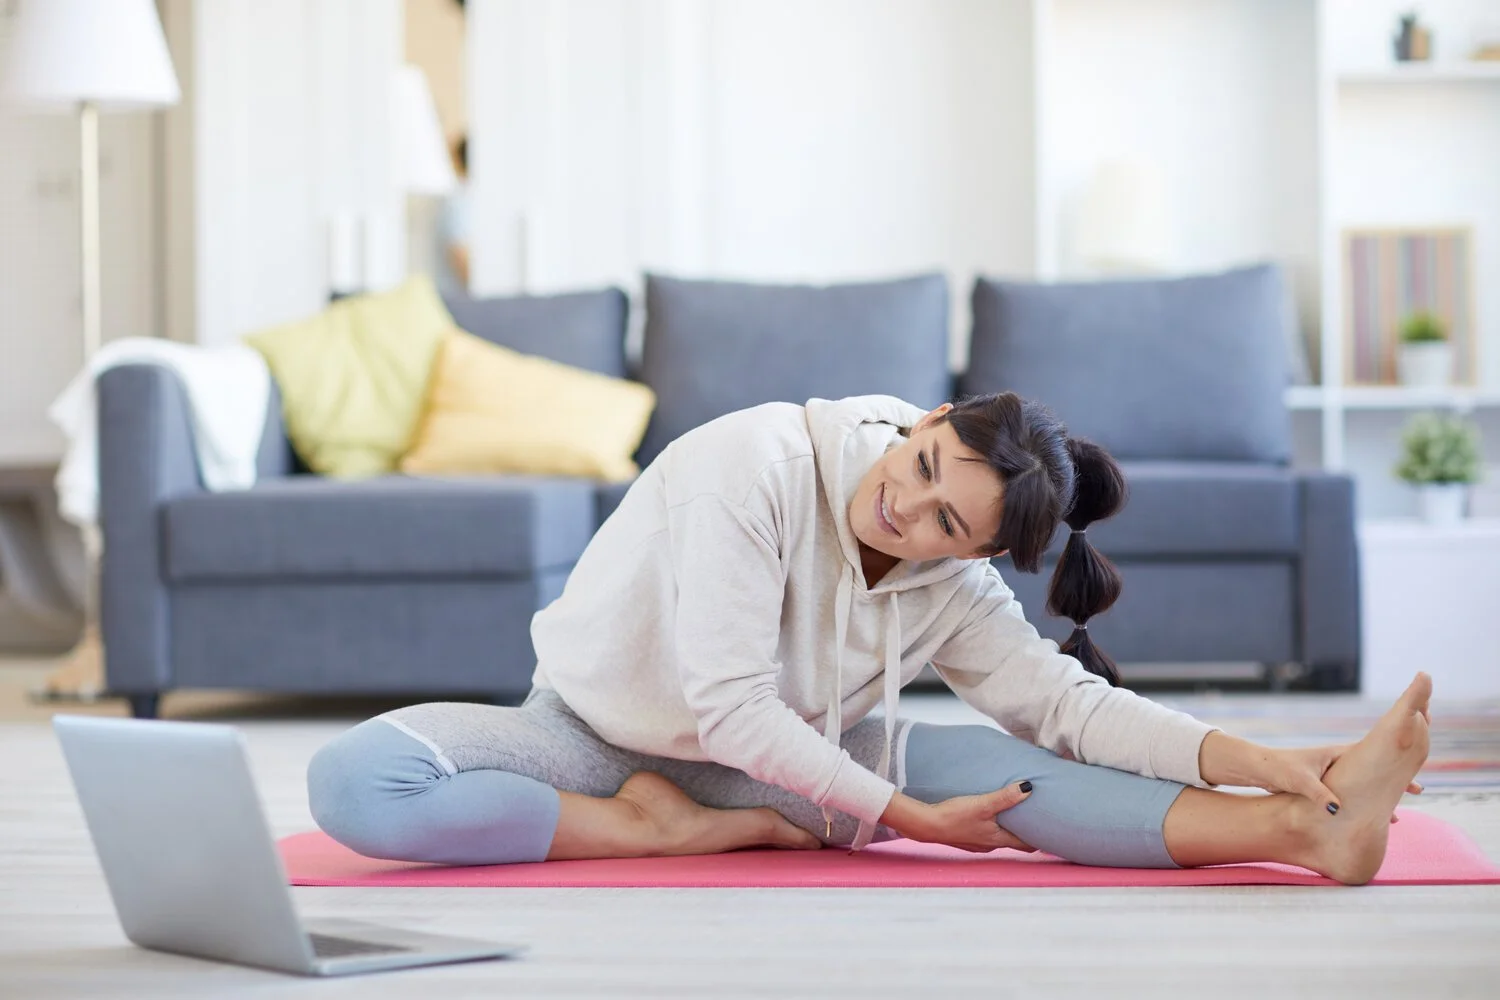
That being said, not all video routines are created equal. One downfall of these routines is that they don’t consider your starting point (see above). Since they are pre-recorded, they provide a one-size-fits-all approach that, without the proper cueing, can lead to injury. To address this, I have a simple tip: Go slow and follow your intuition.
If you’ve never done the routine before, it’s possible some of the movements will be new to you. Don’t be afraid to pause the video in order to master the movement before moving on to the next. Lastly, and most importantly, if an exercise you’re performing is causing you pain, STOP. It is better to focus on the things that you CAN do than to push through pain and end up getting injured.
Thank you for reading. To your health and movement,
- Coach Gabo.


